Turning a Game Boy Case Into a Retro-Console
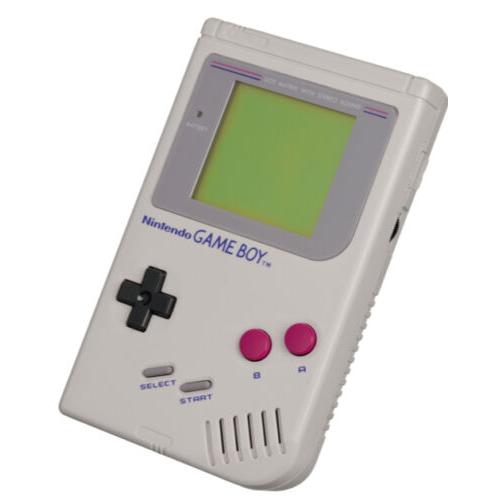
I recently bought a case of the classic GameBoy, which I decided to turn into a portable console, which will run some emulators, mainly due to the limitation of the keys the system has.
It's a trend now to convert old consoles into multi-emulator machines and I have so far converted several systems but I hadn't managed to do this on a portable console, mainly because of the issues with LCD, but also the limited space. However I decided to give it a try.
Although I've been doing similar conversions for a long time, this is the first time I've tried a conversion in such a limited space, which means that you don't have to put the systems in the same place.
I also used RetroPie as an emulator, after testing several similar solutions (although I really wanted to go through Lakka, whose menu is quite similar to that of the PS3 or PSP, but it didn't run well).
Note: The following project is not yet completed.
Starting
I started by opening the screen and picking up the board. These LCDs run on 12VDC, so we need to get it to run on 5VDC.

The IC I had to solder was the CHMC 1509-5.0 (below in the left circle), an XL1509 Switching 2A 5V regulator (datasheet). It takes 12V and gives us 5V on pin 2. So I had to solder the power supply to that pin. Alternatively, I could solder it to where the circle is on the right.

Later I removed everything from the inside of the case, otherwiseI wouldn't have enough space available. I used another monitor at first (exclusively for Raspberry Pi), but because there were compatibility issues with some emulators, I bought another one. But I cut the case based on the first monitor, and so on the new one there is some gap.
To have 4 buttons, I had to drill 2 extra holes, but I didn't try it yet. As for button controller, I programmed a Teensy 2.0 to emulate a USB keyboard.
After that, I started to put the rest of componets, like the sound amplifier, the speaker, the headphone jack, etc. I added only one speaker, but if I use the headphone jack, I can hear the sound in stereo mode.

Below is the a picture of the working project. The red circle is the headphone jack, the black one is the On-Off switch and below that, the power LED.In the yellow circle is the DC Boost board, in the purple is the power board (which had some materials removed to fit), in the grey is the audio potentiometer, in the pink is the A/V jack from the Raspberry Pi (for picture and sound), in the blue is the Teensy (and below it the button board), in the green is the speaker, in the orange is the audio amplifier, and in the brown is the LCD. On the white one is a USB socket, so I can plug in an extra controller or a USB Wi-Fi.

As I mentioned, the project is not yet complete. I want to drill the two button holes and clean the plastic around the screen. I'm also thinking of adding an extra home button (like the Playstation controls for example, to set it as a return to the RetroPie menu) and maybe an analog controller (from the PSP).

Here I want to say that I don't use this as a gaming console, I just tried to make it for fun. I mainly use my mobile phone as a retro gaming console or just as a portable gaming device, as you can see in the image below.

While doing this, I made another similar project with an NES case this time and a Raspberry PI 3, but I kept it as a retro gaming console and a HTPC.
